API stands for Application Programming Interface. Any software with a specific function is referred to as an application when discussing APIs. You can compare the API interface to a service agreement between two programs that specify requests and responses. If you are new to APIs, we recommend you check out our Beginners Guide to APIs and Overview to REST APIs blog before reading this one.
REST APIs allow you to access CRM data through HTTP/HTTPS protocol. You can perform actions such as create, update, retrieve or delete operations on any CRM record information. It will also allow you to store extension-specific and user-specific configuration data or connect to external applications using the stored extension-specific data. All this data can be accessed using basic authorization, that is, by the username and access key.
Creating a REST API
Following are the five general steps that you can use to build any API:
- Plan the API: The guidelines for designing your API are provided by API specifications like OpenAPI. It is preferable to consider various use cases beforehand and ensure the API complies with current API development standards.
- Build the API: API designers create prototypes of new APIs with little modification to the existing APIs. Developers can adapt the prototype to internal requirements after it has undergone testing.
- Test the API: Similar to software testing, API testing is necessary to guard against errors and flaws. Test the API for strength against online attacks using tools for API testing.
- Document the API: Although APIs are self-explanatory, documentation can help users more easily. In a service-oriented architecture, well-documented APIs with various functions and use cases are more frequently used. Write a help document to give direction and help others build their APIs.
- Market the API: There are online marketplaces where developers can buy and sell APIs to others, just like there are for retail goods on eBay, Amazon, and Flipkart. You can earn money from your API by listing it.
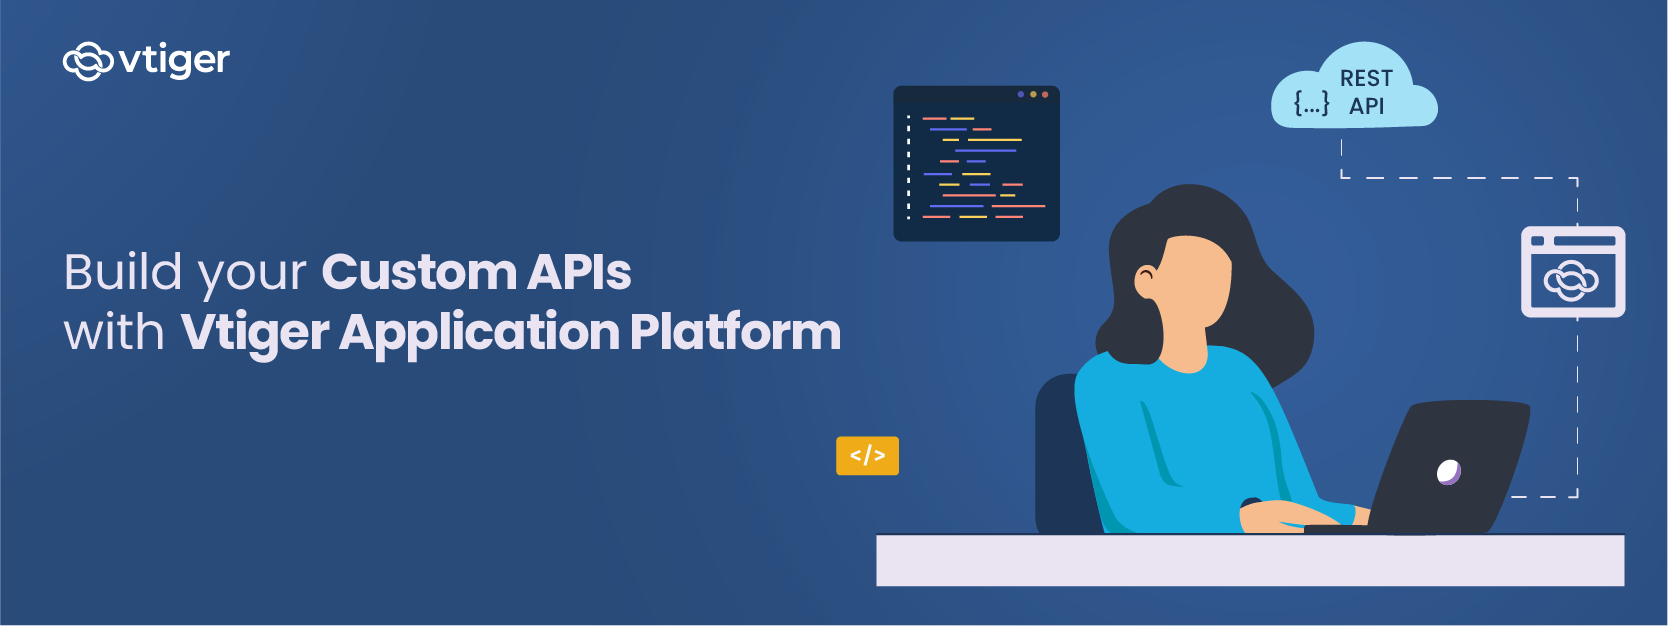
This blog will teach you how to build a custom REST API command using Vtiger’s API Designer. So let’s get started.
What is an API Designer?
The API Designer is a tool or application developers can use to build custom web service APIs. You can define your custom service endpoints and query parameters. These APIs can be used to interact with CRM data, integrate with external apps and also expose these data to VTAP Javascript APIs to be used within custom pages or widgets in Vtiger UI.
You can create APIs using Vtiger Application Design Language (VADL), which is loosely based on XML syntax. The VADL enables administrators or developers without high-level programming skills easily define APIs, but with a basic understanding of programming, you create effective APIs quickly.
REST APIs follow standard REST API protocol, and you can define their endpoints as follows:
| https://instance.odx.vtiger.com/restapi/vtap/api/YOUR_CUSTOM_API_PATH |
|---|
For REST API, the following HTTP request methods are supported:
- GET
- POST
- PUT
- DELETE
Let us see how you can use VTAP to build your custom REST API.
Vtiger CRM users can build REST APIs that will connect the CRM to other third-party applications or build new ones that will extend the CRM’s functionality. Here is an example:
Let us create a REST API that can access data from a specific module using the VTAP.
Following is an example of the API that retrieves data from the CRM module called Organizations to display the top five organizations with the highest annual revenue with an API name as top_organizations. You can go with a different name to keep it unique.
Before we get started, let us understand the XML and VDAL components that are going to be used to define the actions of the above API example.
The following table describes the XML and VDAL components that will be used to define the custom REST API to access and display CRM data:
| XML and VDAL Component | Action |
|---|---|
| api method=”get” | Defining HTTP Request method |
| select module=”Accounts” | Define the module to retrieve data from using select |
| record field name=”accountname”> | Define the fields in the record to retrieve data from using record |
| sort field name=”annual_revenue” order=”descending” /field /sort |
Define the conditions for the table outcome using sort |
| limit max=”5″ page=”@page” /limit | Define the number of record details to be displayed using limit |
| /select /api |
End with closing all the open tags |
Note that all the XML and VDAL components in the above table are to be enclosed with tags(<>).
Follow these steps to build the REST API discussed above:
- Log in to your Vtiger CRM account.
- Click the Main Menu.
- Click Platform.
- Select API Designer.
- Click +Add API.
- Click Create beside REST API. Add REST API window opens.
- Add REST API: Enter or select information for the following:
- Module: Select the CRM module from which data has to be accessed.
- Name: Enter a unique identifier for the API.
- Status: Click the Checkbox to activate the API.
- Click Save.
- After you add the API, you will see an in-built IDE where you will use VADL to define APIs and XML nodes to retrieve CRM data. Refer to the table above to understand the XML and VADL components.
- Click Save and Publish to publish the built API.


You can access and test the above REST API from any external application using the following URL.
| https://instance.odx.vtiger.com/restapi/vtap/api/top_organizations |
|---|
Note that the above URL is an example, and you will have to define the endpoint as per your CRM instance.
Did you know?
The above data can be used to show as a list on a custom page or used for a bar chart and other dynamic outcomes using javascript components to define your APIs. All custom REST APIs built in API Designer can also be accessed using VTAP Javascript APIs.
To know more about building custom APIs and VTAP, check out VTAP Documentation.