Welcome back to the blog series Big Little Things, where we highlight some of the lesser-known and sometimes overlooked features and enhancements in Vtiger CRM that pack a big punch.
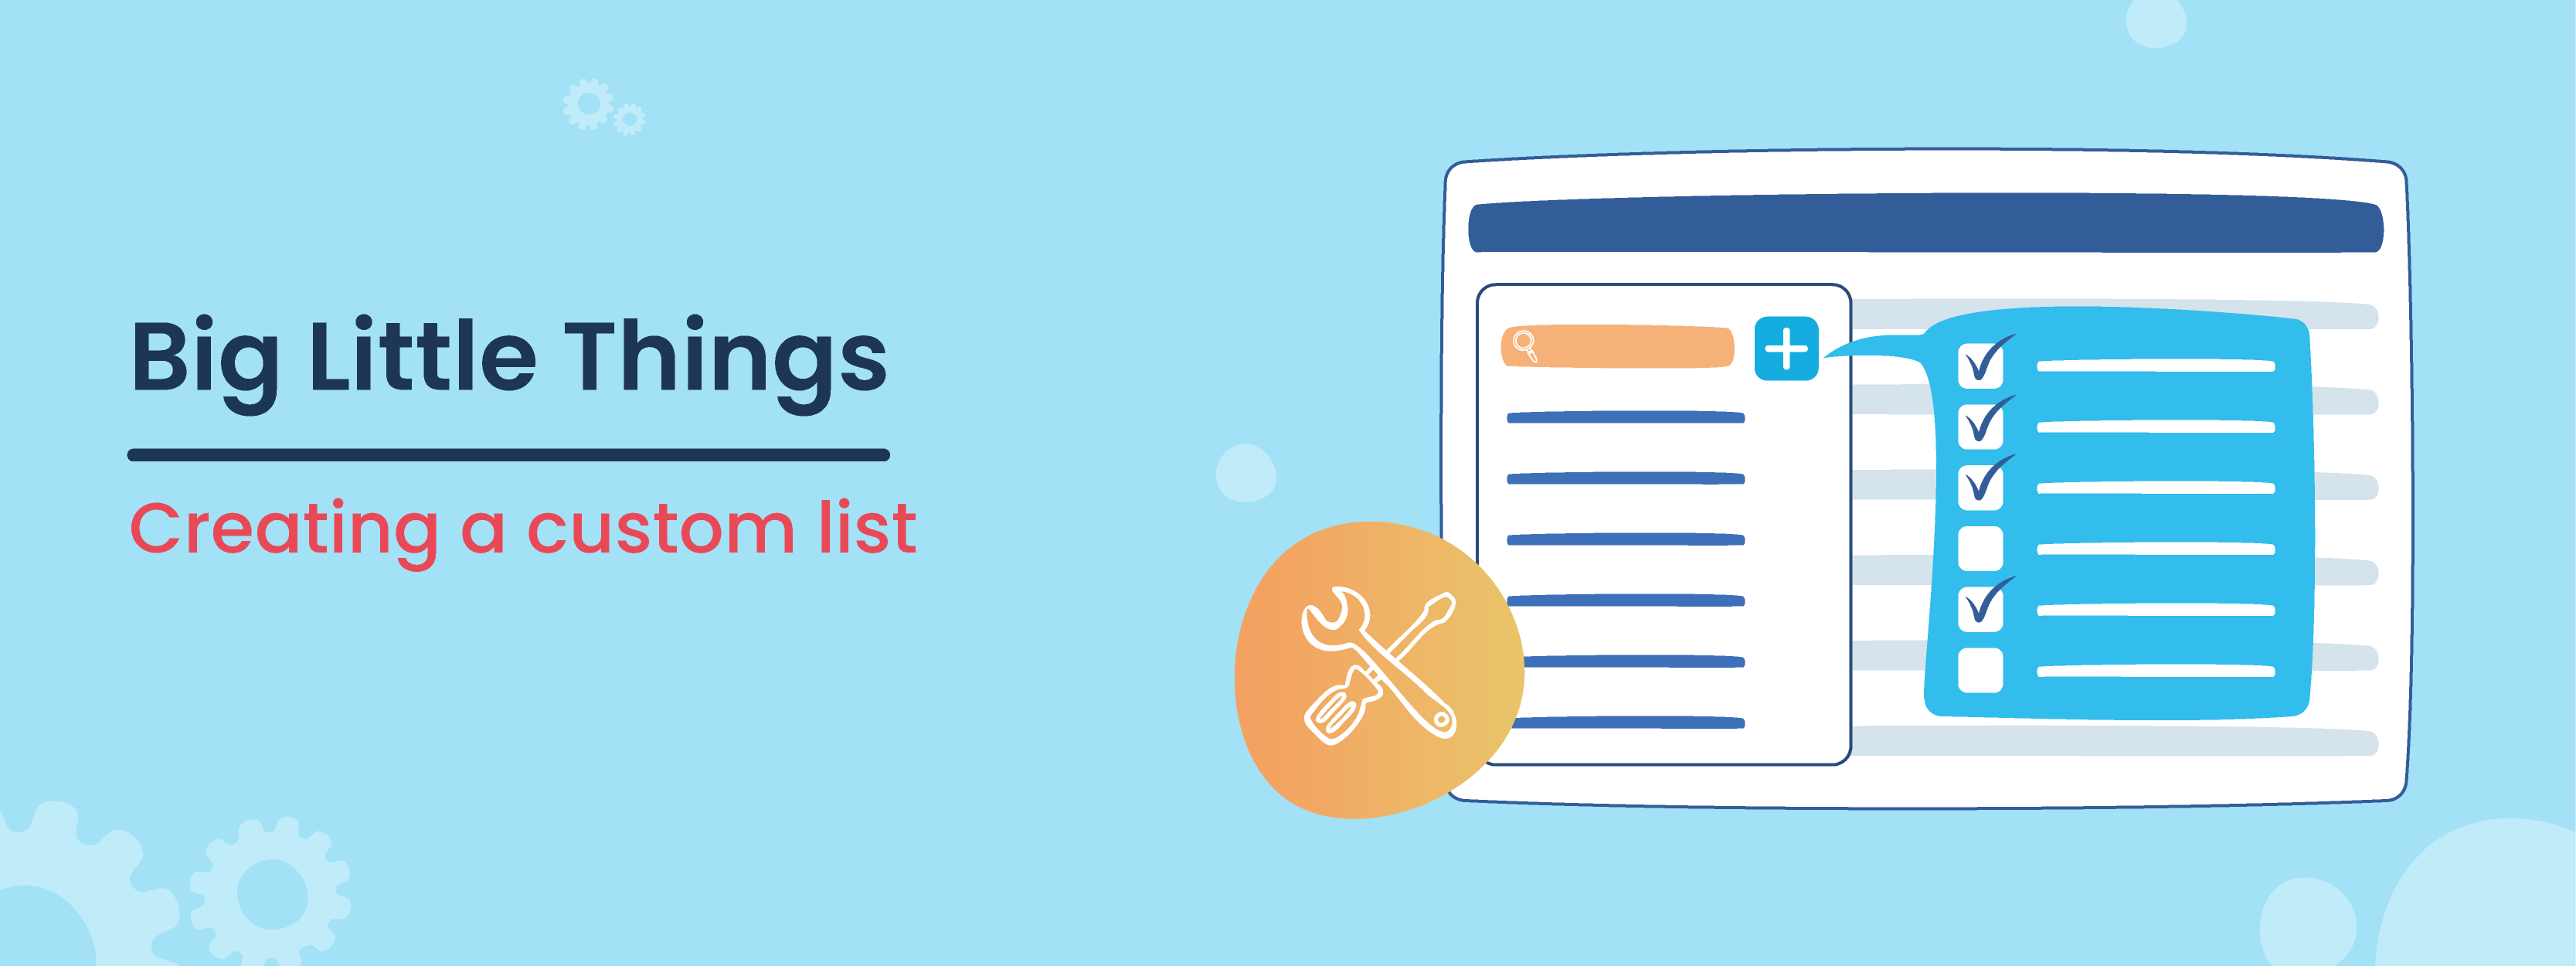
This chapter will focus on organization within your CRM through the use of custom list creation. Let’s start at the basics.
What is a List?
A list is a selection of records within a module that have one or more identifying attributes shared between them. The lists are used to help organize your records in a way that is beneficial to both yourself and your company.
If you are currently using Vtiger, you may have noticed that each module has a few default lists already available. For example, in the Contacts module, you have the ‘All Contacts’ list, which displays every single Contact record in the CRM.
You should also have a list called ‘My Contacts’ which will only display the Contact records assigned directly to you as a user.
Now let’s take this a step further. Say you wish to have a list available for Contacts that are located in the United States. That is where you would look at creating a custom list.
Creating a New List
Creating a new list will follow the same process for every module within the CRM.
You will first want to click on the list dropdown menu. In that menu, you should see a blue ‘+’ icon in the top right corner. This is where you can create a new list for the current module you are in.

Creating a new list is broken into four sections:
- List Information
- List Conditions
- Choose columns and order
- Share List
Let’s go through the list in order. The new list I will be creating will be from the example I gave earlier, so we want to pull in all of the Contacts based in the United States.
List Information
The List Information section is where you will add the name of the list you are creating, which column (Field) the information will be sorted from by default, and whether they will be sorted in ascending or descending order for that column.

You can see above that I have given a name for the list, Contacts based in the United States, and have set the list to be sorted by Last Name in Descending order. This sorting is only what the records will be sorted by initially. You can re-sort the records in the list using the column search functionality available in each module.
List Conditions
The second section, List Conditions, is where you will define which records are added to your new list.
There are two types of conditions that can be added. All conditions require that every condition added in this section is matched by each record. Any conditions require that at least one of the conditions added in the section are matched by each record.
Conditions themselves are field information that set the parameters the records being pulled into the list must match.
In the example above, we want to pull in contacts that are based in the United States. So we know that the Country listed in the Contacts needs to be equal to the United States. The field name for that in the Contact record is Mailing Country. Below is the condition now added to the list we are creating.

Choose columns and order
The Choose columns and order section is where you can select the columns that will appear in the list you are creating and what order they will be displayed.
To add a new field as a column, you can search for that field in the search bar at the top of this section and add it in as a column. You can delete a column that has been added by selecting the ‘x’ icon at the right-hand side of the column name. You can adjust the order of the columns by clicking and dragging on the left hand side of the column that has been added to move it to the location you would like it to be.

Share list
The Share list section is where you can share the list with other users, roles, or groups. Once the list has been shared, those users will be able to see the list as well in their list dropdown.
With that finished, you can save your new list, and it will be added to your list dropdown menu.
Creators of the list can always go back and edit the columns to add or remove fields or rearrange the order of the columns at a later time.

The use of custom lists is an incredible way to segment and sort information within each module, allowing you and your team to access the data you need quickly and efficiently.
Click here to sign up for a 15-day free trial or try our forever free Pilot edition.