Welcome back to the blog series Big Little Things, where we highlight some of the lesser-known and sometimes overlooked features and enhancements in Vtiger CRM that pack a big punch. This post highlights how to manage columns in each list within a Module of your Vtiger CRM account.
What is a Column?
If you are not familiar with the naming conventions used within Vtiger yet, you may be lost already with terms like list and module about how they function within the CRM. Let’s start with basic definitions.
Module: Modules refer to an entity such as Contacts, Leads, Opportunities, etc. They are a collection of records.
Field: The elements that store and display the module record data. For example, the first name field in a contact record.
List View: This view gives a list of all the records in a module, which is also the default view for most modules.
List: A list is a pre-defined collection of records within a Module, such as contacts assigned to a specific user.
For additional definitions of standard CRM terms, please refer to our Glossary.
So, what is a column?
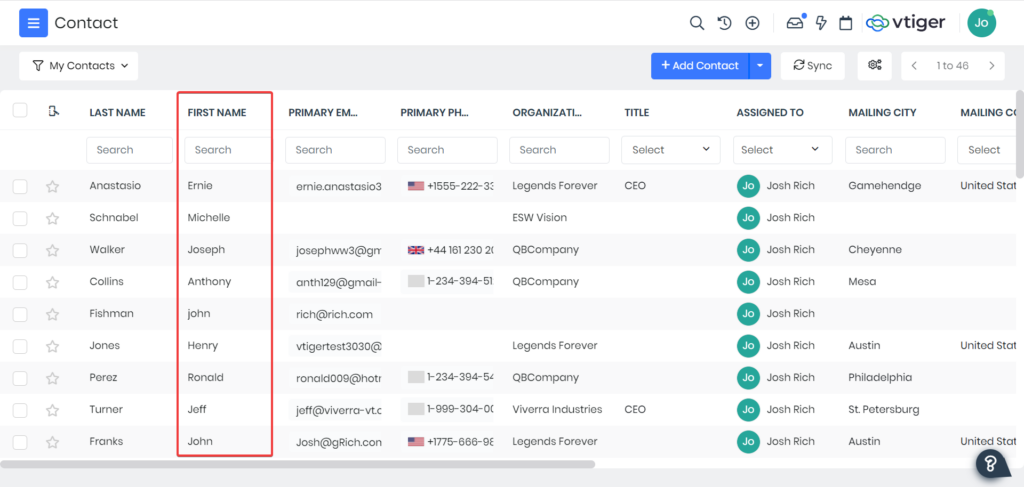
A column is a field that is selected for display in the list view of a module. When a column is added, that field information will be displayed for each record shown on the page. Columns can be selected for each list in a module as well.
In my previous blog, Big Little Things: Creating a Custom List, I discussed how you can select columns for a new list you are creating. Managing columns will allow you to modify the columns already selected within a list.
Why Modify Columns?
There are two primary reasons why columns need to be modified for lists in your modules.
The first is to simplify your data management. By selecting the columns being displayed and the order they are displayed, you can make sure the data you need to see first is visible for each record. Additionally, you can have important information displayed such as Lifecycle Stage, Primary Email, and even custom fields.
The second reason is to allow for quick searches to be performed based on the field information of each column.
For example, say you wanted to search for all of the Contacts listed as Leads in the Lifecycle Stage field. If that field is added as a column, you can search for that information within the module’s List View.
How to Manage your Columns
The feature Manage Columns is unique to each list in a module. For the example below, the focus will be on the ‘All Contacts’ list in the Contacts module.
When first pulling up the list in the module, you will see an icon at the left of the list of records.
This is the Manage Columns feature. Clicking on this icon will bring up a screen with all of your current columns in that List.
By clicking and holding on the left-hand side of each field listed, you are able to drag and drop each field to the order you would prefer they appear in the List View.
You are able to remove columns that have been added by clicking on the ‘x’ that is on the right side of each column added.
Finally, you can add any field as a column by searching for the field name in the search bar and selecting the field. This will add the field as a column to the bottom of the columns already added.
Once you have modified your columns as needed, clicking the ‘Update List’ button will save your changes.
Having your most important information in an easy-to-view and navigate location is an important step in data management for the CRM. Managing your columns can save time for all of your CRM users as you can do so for all modules in the CRM.
Click here to sign up for a 15-day free trial or try our forever free Pilot edition.


