Welcome back to the blog series Big Little Things, where we highlight some of the lesser-known and sometimes overlooked features and enhancements in Vtiger CRM that pack a big punch. This post highlights the Timelogs module, which can track time spent on tasks by users or groups. Let’s start at the basics.
What are Timelogs?
Whether your billing relies on carefully tracking time by the minute or if you want to better track time spent on internal tasks, the Timelogs module will fit your needs.
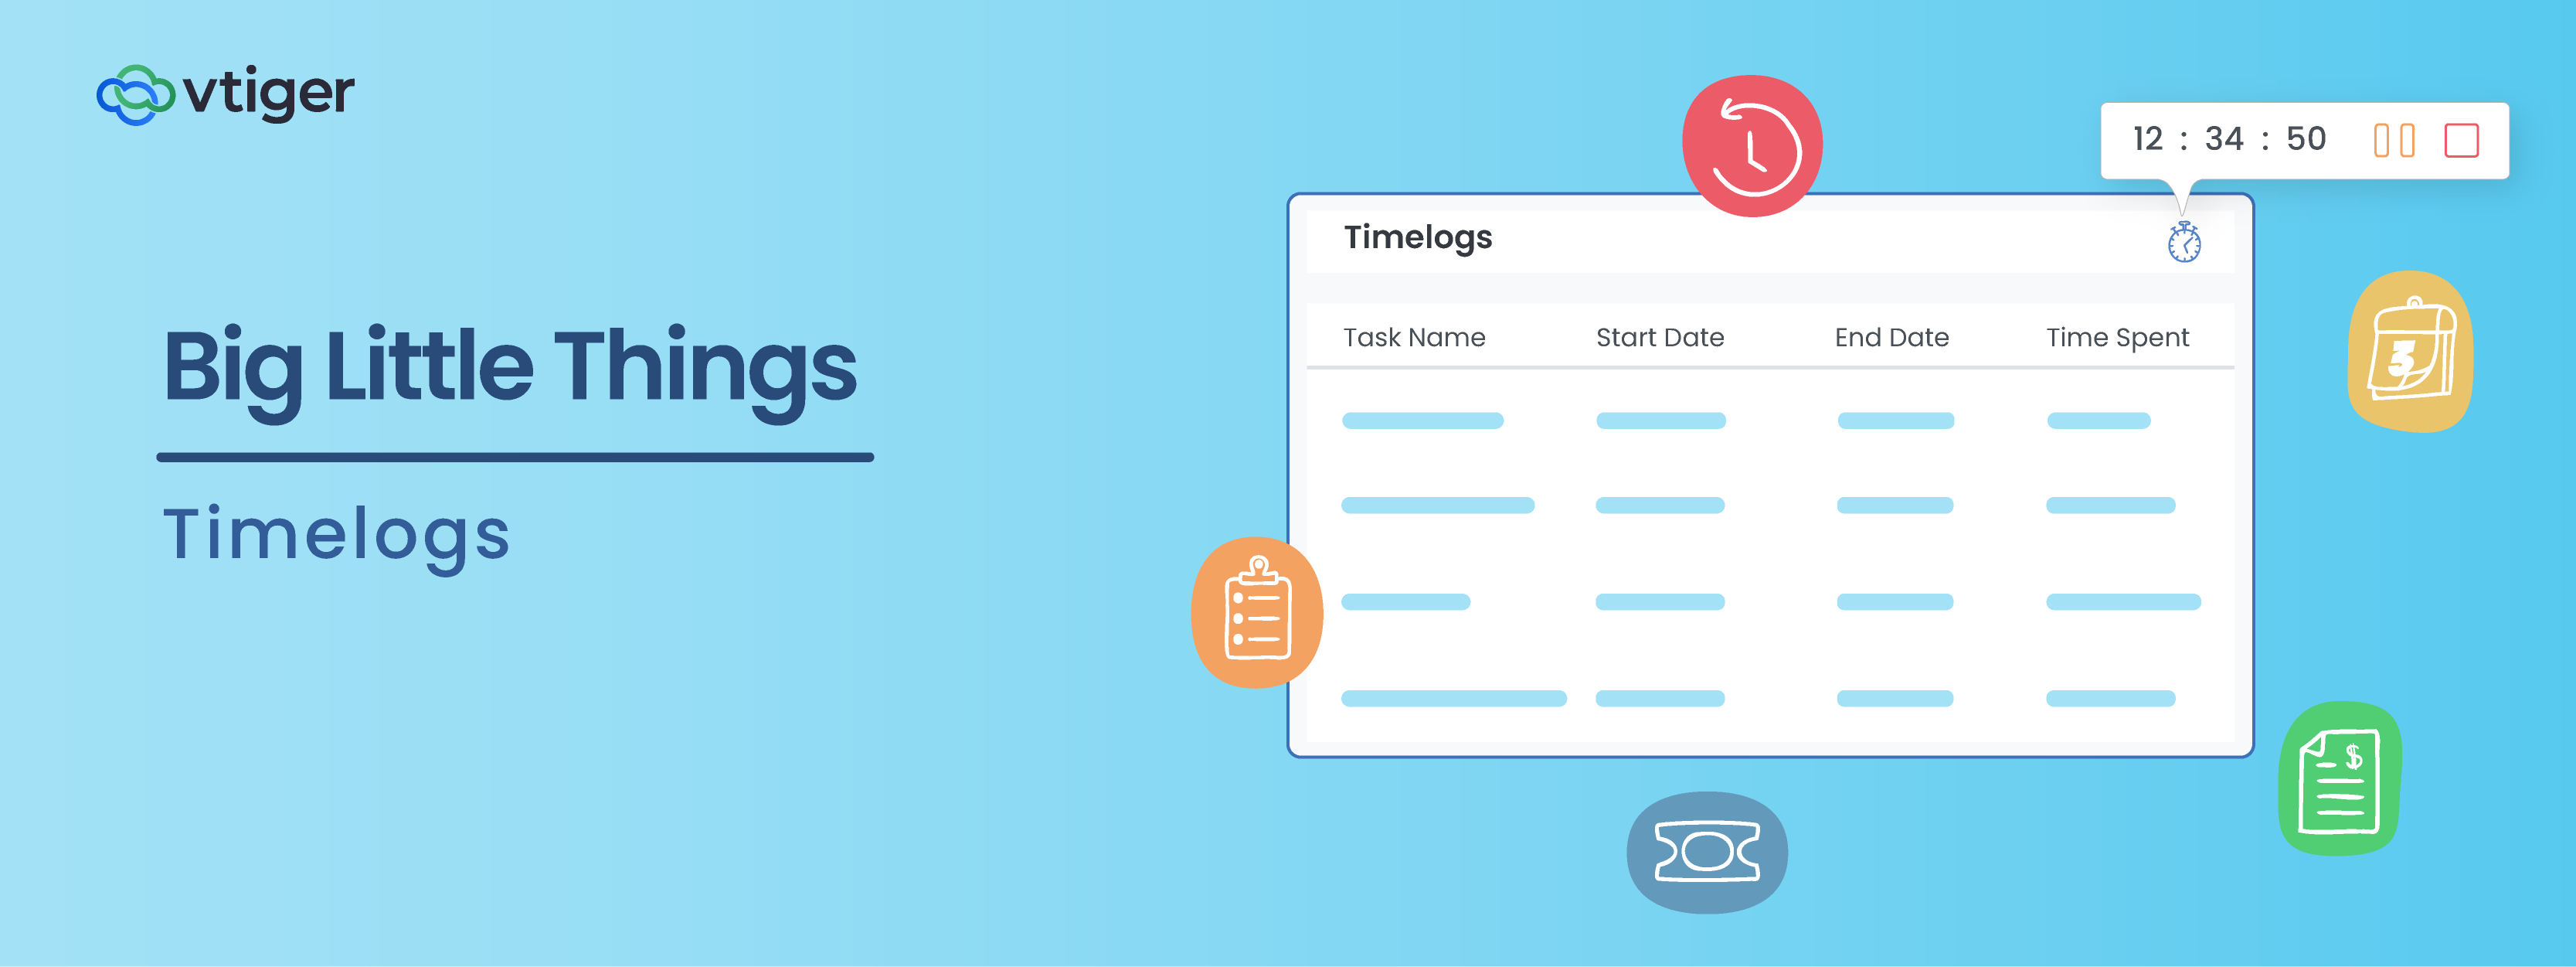
Timelogs allow you to document your time spent on specific tasks. The module gives you the option to select the starting Time and Date and End Time and Date of the activity and add additional details as needed.
The timelogs are available in Tasks, Cases, Internal Tickets, and Work Orders. You can find the timelogs in the One View section of each record, as shown below.

You can also create the timelogs in two other locations: The Timelogs module and the Quick Create menu.
From the Timelogs module, you can create new timelogs as needed. You can find the module by opening the Main Menu > Projects > Project Enablement > Timelogs.

If you need to create a timelog from an unrelated section of the CRM, you can do so from the Quick Create menu at the top of the screen labeled as the ‘+’ icon.
Creating Timelogs with the Timer Feature
You may find that giving estimates for each timelog you create is inaccurate. For precise time-keeping, a timer feature is available within individual records compatible with the Timelogs module.
The timer will allow you to Start, Pause, and Stop a timer that counts up by each second that passes. Once you stop the timer, a timelog is created that contains the time recorded.
To find the timer, go into the Summary View of a task. In the task, there is a start icon in the top right-hand corner of the timelogs section. Clicking on this icon will start the timer.

Clicking on the icon once more, although it will now be in the shape of a stopwatch, will create a pop-up containing the total time passed, the ability to pause, and the option to stop the timer.

Pausing the timer will allow you to restart the time as needed without creating a new timelog record. Stopping the timer will create the timelog record with the final time added to the record.
Billing through Timelogs
If you handle billing by the hour or other time frame, you can also set a timelog as billable through the related record. This can be accomplished through a few steps.
First, when creating or editing the record, set the record as ‘Is Billable’. This can be selected in the Service Details block of the record. Then, link a related service and set the rate at which you will bill the service.
In the example below, I have set an outstanding Case to ‘Is Billable’ and linked the service related to the time spent working on the Case. Linking a related service is required to set the record as billable.

After the change is made you will have the option to set a timelog as billable too.

Once the record has been set as Closed or Resolved, you can then create an invoice from the record. This invoice will pull in the information directly from the timelogs set as billable based on the rate set within the record.

Following this process, you can accurately track your billable time spent on tasks and quickly invoice your customers from the same record.
Timelogs in Action
The Timelogs feature is understood best with a real-world scenario.
For example, a company offering consulting services for startup companies charges sixty dollars an hour for time spent with one of their specialists. The customers first reach out through email. This action generates a Case in the CRM for their team to review.
The email sent in by the customer is forwarded into the Mailroom of the CRM, which then generates a new case.
From there, a team member will begin working on the request for consultation, which often includes multiple meetings with the client alongside additional internal work with other departments. Knowing that the request was for consultation, the user would first set the record as billable and link the related service.
The meetings and internal time spent could be calculated through timelogs and marked as billable within each timelog. When the consultation is complete, they can generate and send off an invoice to the client for the total amount of hours worked. Even with multiple timelogs linked to the case, they will all be added to the invoice automatically when it is first created.
Now, this is just a generalized approach to the process. Perhaps you send a quote off first or handle billing through a different process. You can modify the CRM and how you use it as needed to better fit your business process.
Although Timelogs is a little feature, it is a powerful tool capable of tracking time spent on internal and external tasks.
Click here to sign up for a 15-day free trial or try our forever free Pilot edition.